Have you ever wondered how to make a decadent dessert that feels indulgent yet is perfectly portioned for sharing? This guide walks you through a simple approach to creating delightful treats that are perfect for parties, brunches, or a sweet finish to a weekday dinner.
Table of Contents
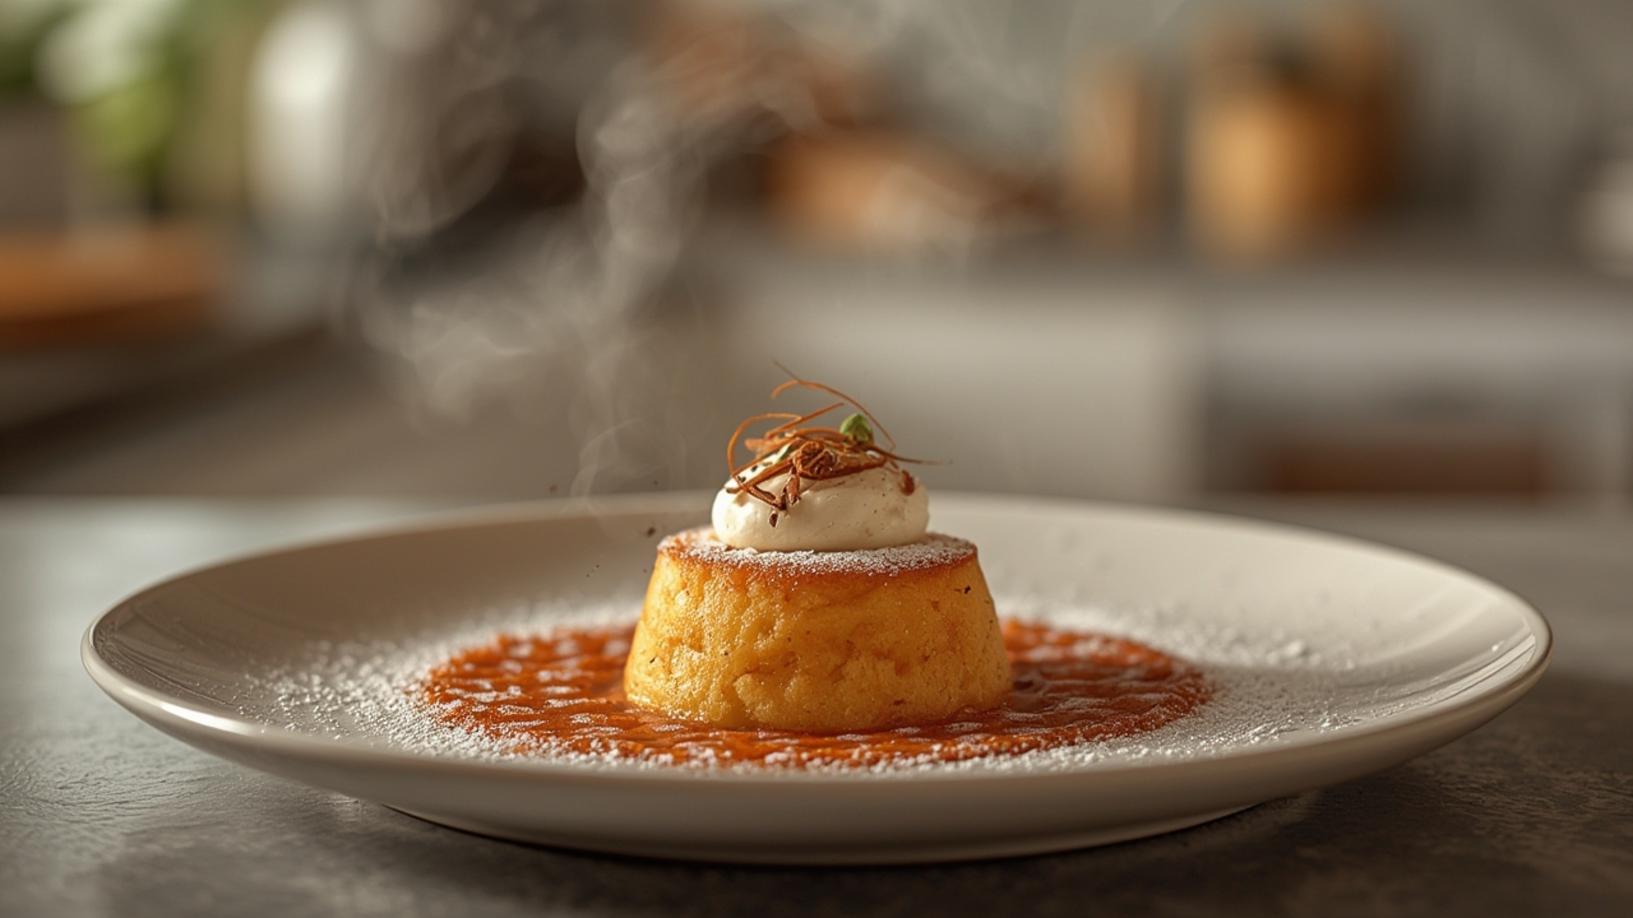
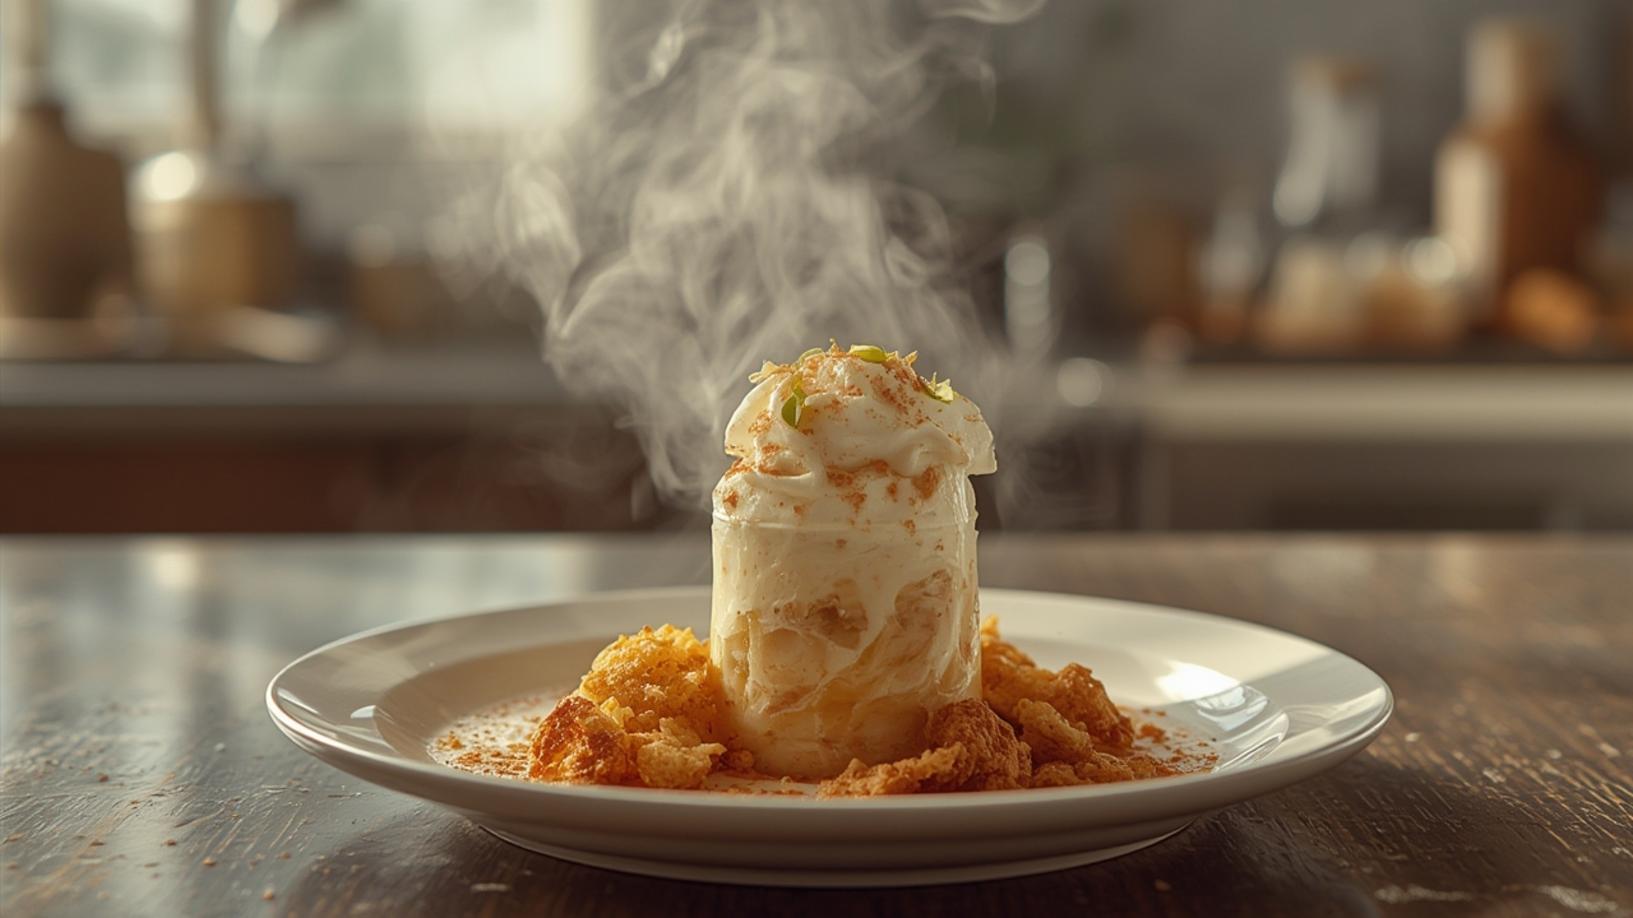
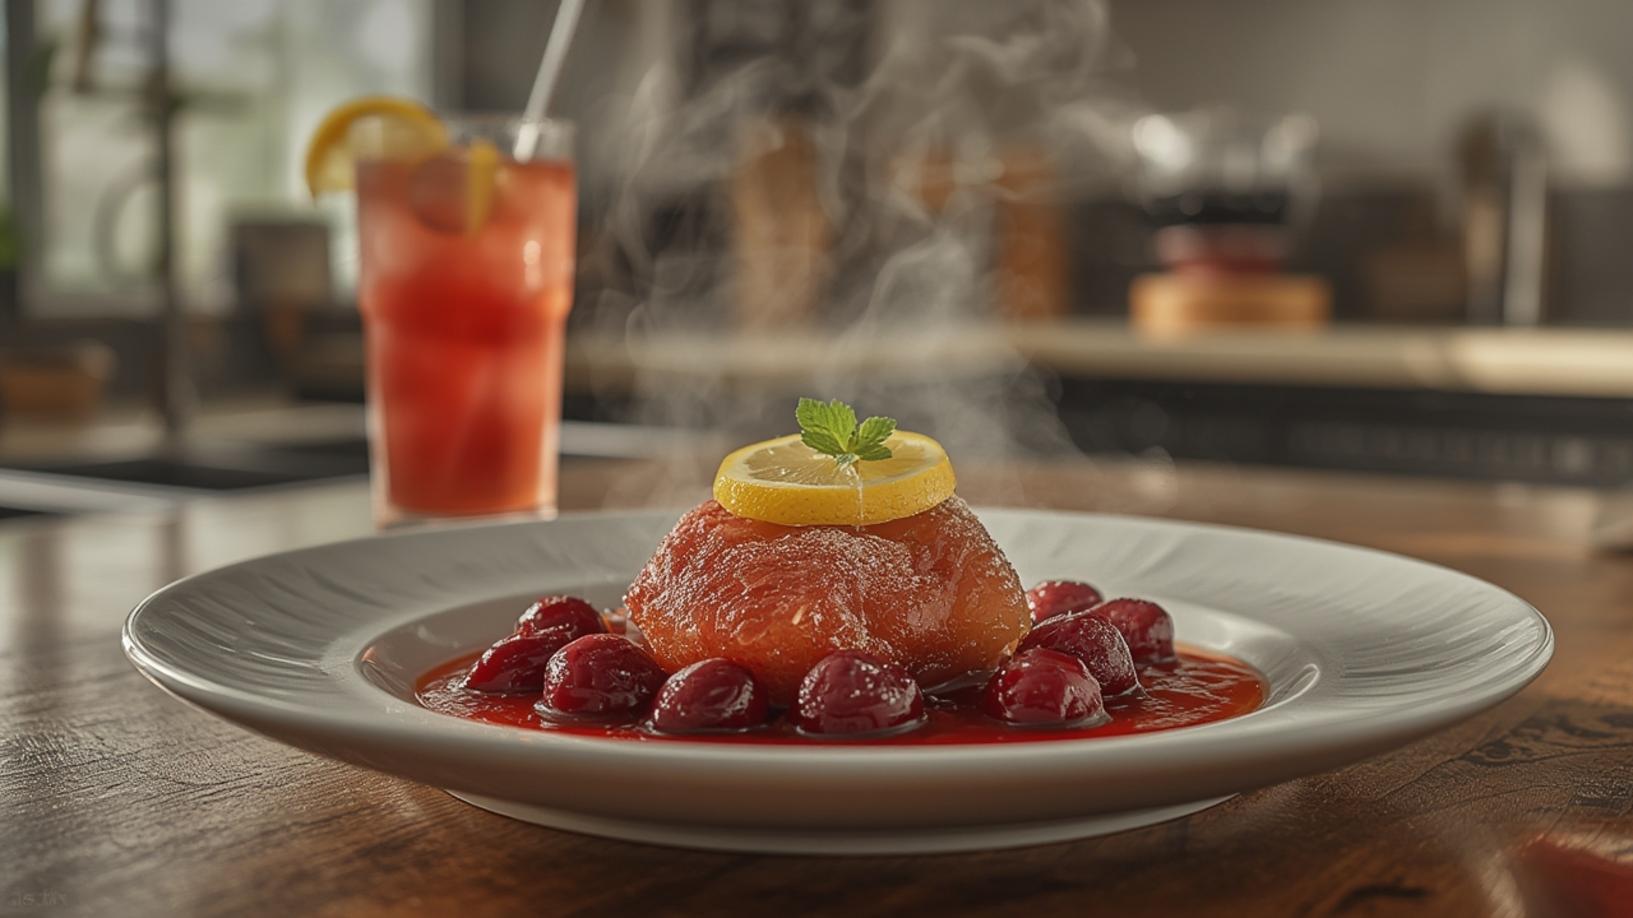
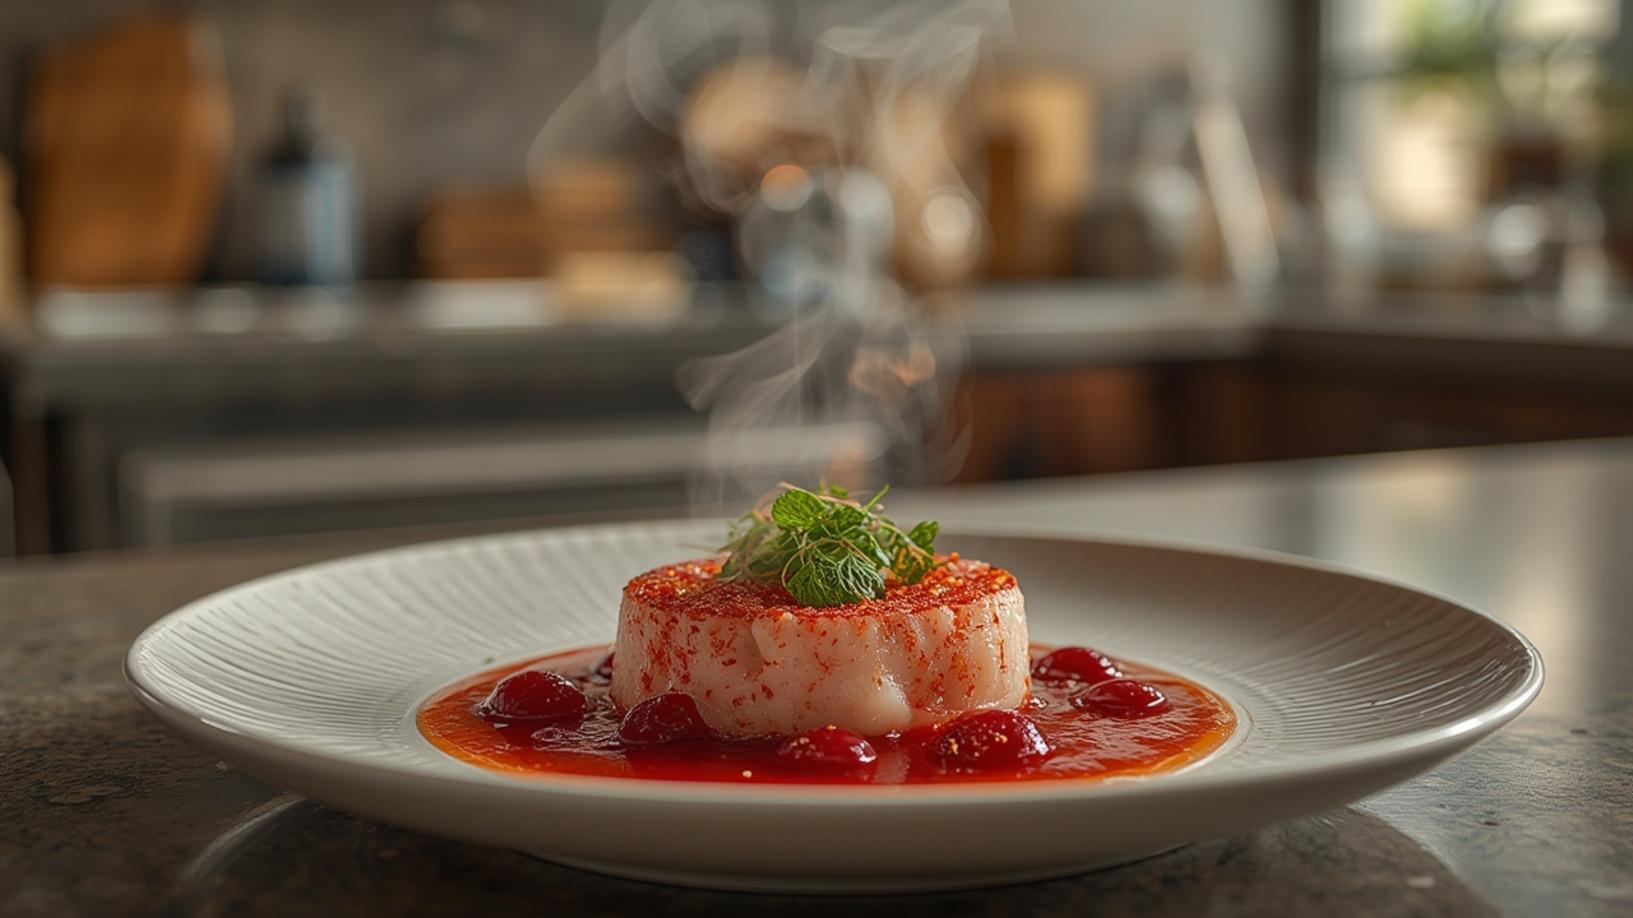
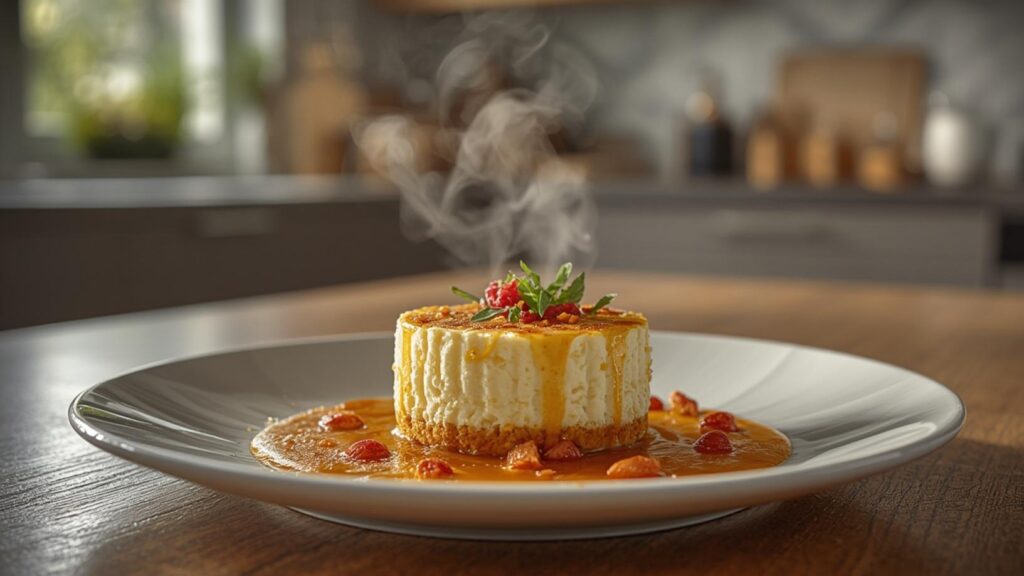
Whether you’re looking for a show‑stopping centerpiece or a quick sweet bite, this mini cheesecake recipe delivers creamy richness in every bite. The method is straightforward, requiring only a few basic ingredients and minimal equipment, making it ideal for beginners and seasoned bakers alike. Plus, the results look as good as they taste, turning any gathering into a memorable moment. If you’ve been curious about how to make individual cheesecake bites that impress without fuss, you’re in the right place.
Ingredients
- 12 ounces (340 g) cream cheese, softened to room temperature
- ¼ cup (50 g) granulated sugar
- 1 teaspoon pure vanilla extract
- 1 large egg, at room temperature
- ¼ cup (60 ml) sour cream or Greek yogurt for extra tang
- ½ cup (50 g) finely crushed graham crackers (about 6–7 sheets)
- 2 tablespoons (28 g) unsalted butter, melted
- 1 tablespoon (12 g) granulated sugar (for the crust)
- Optional toppings: fresh berries, fruit compote, chocolate drizzle, whipped cream, or a sprinkle of cinnamon
- Optional flavor variations: zest of½ lemon, ¼ teaspoon almond extract, or 2 tablespoons cocoa powder mixed into the filling
Why these ingredients matter: Cream cheese provides the classic rich, smooth base; sugar balances the tang; vanilla adds depth; the egg sets the filling; sour cream adds silkiness and a slight acidity that prevents the cheesecake from feeling too heavy. The graham‑cracker crust offers a buttery crunch that contrasts beautifully with the creamy interior.
Preparation Time and Cooking Schedule

Prep time: 20 minutes
Cook time: 18‑22 minutes (depending on your oven)
Chill time: at least 2 hours, preferably overnight
Total time: about 2 hours 40 minutes (plus chilling)
Servings: 12 mini cheesecakes
Difficulty: Easy
Plan ahead: The crust can be pressed into the pan while the filling comes together, saving minutes. Because the cheesecakes need to chill thoroughly, consider making them the night before an event. This also allows the flavors to meld, resulting in a denser, creamier texture.
Step-by-Step Instructions

- Preheat your oven to 325 °F (160 °C). Line a standard 12‑cup muffin tin with paper liners or lightly grease the cups.
- In a small bowl, combine the crushed graham crackers, 1 tablespoon sugar, and melted butter. Mix until the crumbs look like wet sand.
- Spoon about 1 tablespoon of the crumb mixture into each liner, pressing it down firmly with the back of a spoon or a flat-bottomed glass to form an even base.
- In a large mixing bowl, beat the softened cream cheese with an electric mixer on medium speed until completely smooth, about 2 minutes. Scrape down the sides as needed.
- Add the granulated sugar and vanilla extract; beat until light and fluffy.
- Add the egg and sour cream; mix on low speed just until incorporated. Over‑mixing can incorporate too much air, leading to cracks.
- If using any flavor variations (lemon zest, cocoa, almond extract), fold them in now with a spatula.
- Pour or spoon the filling into each prepared crust, filling the cups about three‑quarters full. Smooth the tops with the back of a spoon.
- Place the muffin tin in the oven and bake for 18‑22 minutes. The edges should look set while the center still has a slight wobble—this indicates a creamy interior.
- Turn off the oven, crack the door open, and let the cheesecakes cool inside for about 1 hour. This gradual cooling helps prevent surface cracks.
- Remove the tin from the oven and transfer the cheesecakes to a wire rack to cool completely, then refrigerate for at least 2 hours, preferably overnight.
- Before serving, top each bite with your favorite garnish—fresh berries, a drizzle of chocolate, or a dollop of whipped cream.
Follow this mini cheesecake recipe to ensure each cup gets a smooth filling that sets perfectly. These individual cheesecake bites are ideal for serving at a gathering because they’re easy to pick up and look elegant on a platter.
Why You’ll Love This Recipe
This dessert shines for several reasons. First, the portion size makes it easy to enjoy a sweet treat without overindulging. Second, the basic ingredient list keeps costs low while delivering bakery‑quality flavor. Third, the recipe is forgiving—if you over‑mix slightly, the chilling step still yields a pleasant texture. Fourth, the mini format is perfect for entertaining; guests can grab one or two without needing utensils. Finally, the base recipe is a canvas for endless flavor twists, from fruit‑filled to chocolate‑swirled, letting you tailor it to any season or preference.
Tips, Variations, and Substitution
- Crust alternatives: Use digestive biscuits, vanilla wafers, or even crushed pretzels for a salty‑sweet twist. For a gluten‑free version, substitute with gluten‑free graham crackers or almond flour mixed with a bit of melted butter.
- Dairy‑free: Replace cream cheese with an equal amount of softened vegan cream cheese and use coconut cream instead of sour cream. Ensure the vegan cream cheese is smooth before beating.
- Lower‑sugar: Cut the granulated sugar in the filling to 2 tablespoons and add a touch of honey or maple syrup for natural sweetness.
- Fruit swirl: Before baking, dollop a teaspoon of raspberry or strawberry jam onto the filling and swirl with a toothpick for a marbled effect.
- Chocolate lovers: Add 2 tablespoons of melted dark chocolate to the filling, or sprinkle mini chocolate chips on top before chilling.
- Mini‑size adjustment: If you prefer larger bites, use a 6‑cup muffin pan and increase the baking time by 3‑5 minutes.
- Make‑ahead: The cheesecakes keep well covered in the fridge for up to 4 days. Freeze them (uncovered) for up to 1 month; thaw overnight in the fridge before adding toppings.
Common Mistakes to Avoid

- Over‑mixing the filling: This incorporates air, which can cause cracks or a puffy texture. Mix just until smooth and combined.
- Skipping the water bath (optional): While not required for mini cheesecakes, placing the muffin tin in a larger pan with hot water can promote even baking and reduce cracking.
- Opening the oven too early: Sudden temperature changes can cause the center to sink. Keep the oven closed until the minimum bake time has passed.
- Not cooling gradually: Moving the cheesecakes straight from a hot oven to the fridge can shock them, leading to surface cracks. Let them cool in the turned‑off oven with the door ajar first.
- Using cold ingredients: Cold cream cheese or egg can result in lumps. Ensure all dairy ingredients are at room temperature before mixing.
- Over‑filling the cups: Filling past three‑quarters can cause spill‑over during baking, making a mess and affecting shape.
Serving Suggestions
Serve the chilled mini cheesecakes on a decorative platter or a tiered stand for visual appeal. Pair them with:
Fresh berries—strawberries, blueberries, or blackberries—for a burst of acidity that cuts the richness.
- A drizzle of caramel or chocolate sauce added just before serving.
- A dollop of lightly sweetened whipped cream or a sprinkle of toasted nuts for extra texture.
A cup of coffee, espresso, or a glass of dessert wine such as Moscato or late‑harvest Riesling.
For a brunch setting, arrange the bites alongside mini muffins, fresh fruit salad, and a selection of teas. At a dinner party, they make a perfect finale after a savory main course, especially when followed by a digestif.
Storage and Reheating Tips
Refrigeration: Keep the cheesecakes in an airtight container in the fridge for up to 4 days. Place a sheet of parchment paper between layers if stacking to prevent sticking.
Freezing: For longer storage, wrap each cheesecake individually in plastic wrap, then place them in a freezer‑safe bag or container. They’ll keep for up to 1 month. Thaw overnight in the refrigerator before adding any toppings.
Reheating: These treats are best enjoyed cold. If you prefer them slightly warm, let a frozen cheesecake sit at room temperature for 15‑20 minutes, then give it a quick 10‑second burst in the microwave—just enough to take the chill off without melting the filling.
Make‑ahead tip: Prepare the crusts and fillings a day ahead, assemble, and refrigerate overnight. Bake fresh the next day for optimal texture.